What sashiko is—and where to begin
Sashiko is a Japanese stitching practice often recognized by its rows of running stitches. Historically, stitching could help reinforce or repair cloth; today, people also use it to create decorative patterns. Sashiko includes different regional and family practices, so no single pattern or technique represents every tradition. As a beginner, you can start with a small piece of cloth and focus on making stitches that are steady, comfortable and suited to the fabric.
A practice square is more manageable than a large garment. Choose a piece of fabric you can hold easily, then decide whether you want to stitch a border, fill a small area or reinforce a worn spot. Working on something useful, such as a cloth napkin or a patch for a tote bag, can make the exercise feel purposeful without making it precious.
A small, practical stitching kit
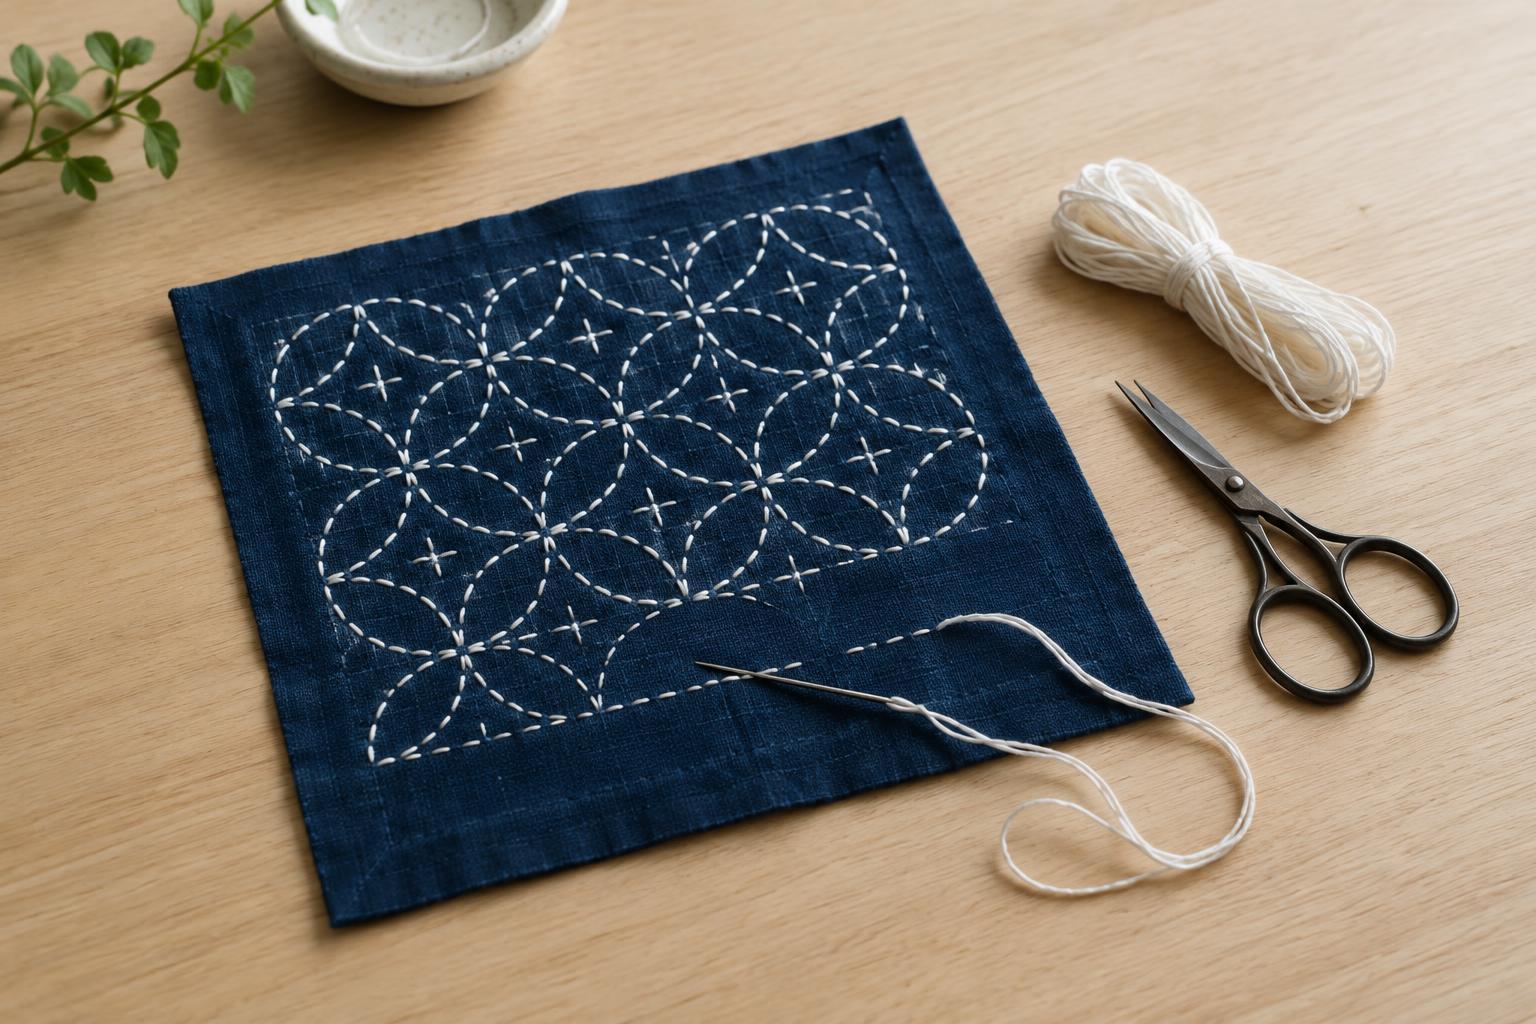
You need woven fabric, thread, a needle, a way to mark guidelines and scissors. Stable cotton or linen is easier to handle than stretchy knit fabric. Traditional sashiko thread is a good choice because it is made for this style of stitching, but a sturdy cotton thread can serve for practice. A sashiko needle is typically long enough to hold several stitches at once; whichever needle you choose, check that its eye accommodates your thread without forcing it.
A thimble can help when pushing a needle through multiple layers, though you may not need one for a single layer of light fabric. If you are repairing clothing, test the needle and thread on a hidden area first. A very thick thread on thin fabric may cause puckering, while a fine thread may not provide the visible line you want.
For guidelines, use a marking tool appropriate to your cloth and test it on a scrap. Some marks disappear with water or wear, but removal methods vary. You can also mark lightly on the reverse side if the fabric and pattern allow it. Leave enough fabric around your design to hold comfortably and to finish the edges later.
Practice the running stitch
Draw one straight line and cut a comfortable length of thread. Make a small knot if your project allows one, or secure the starting end with a few tiny stitches on the reverse. Bring the needle up through the cloth, then pass it down and up again along the line. Instead of pulling through after every stitch, try gathering two or three stitches on the needle before drawing the thread through. This can help you find a rhythm, but single stitches are fine around corners or thick areas.
Aim for a consistent relationship between stitch and gap rather than perfect measurements. Many sashiko designs use stitches that look longer than the spaces between them, but the best proportions depend on the cloth and pattern. After each short run, smooth the fabric and check that it lies flat. If it gathers, ease the thread back a little; avoid pulling the line tight.
Turn the fabric to keep your hand position comfortable when changing direction. At an intersection, look ahead before stitching so you do not accidentally crowd several stitches into one point. To finish, secure the thread neatly on the reverse without tugging. The back does not have to be flawless, but loose loops may snag during use.
Three simple pattern ideas
Begin with parallel lines. Mark evenly spaced guidelines across a small square and stitch each line from edge to edge. This lets you practice stitch length and tension without managing turns. If exact spacing becomes distracting, draw fewer lines and concentrate on keeping the fabric relaxed.
Next, try a grid: add lines crossing your first set at right angles. You can stitch the design one line at a time, pausing at crossings to decide where each stitch should fall. A grid is a useful exercise in planning, and the finished cloth has a clear geometric texture.
For a third project, mark a border of simple diagonal lines around a napkin or patch. Keep the design away from the raw edge so you have room to hem or attach the patch. Start with widely spaced diagonals; you can add more only if the cloth needs them. These patterns are exercises rather than substitutes for learning a named traditional design, whose stitching order may have its own conventions.
Make the first project useful
Before stitching an item you plan to wash, consider washing and drying the fabric according to its care needs. This can reveal shrinkage before you spend time on the design. Once the stitching is complete, finish raw edges or sew the practice square onto another piece of fabric. If the work is meant as a repair, place stitches beyond the worn area so they pass through sound cloth.
Your first lines may vary, and that is useful information: you will see how the fabric, thread and spacing behave together. Keep a small sample with notes about what you used. When you are ready to explore named sashiko patterns or mending traditions in greater depth, learn their context alongside their shapes. For now, a well-used practice square is a satisfying place to start.