Begin with a square and a little patience
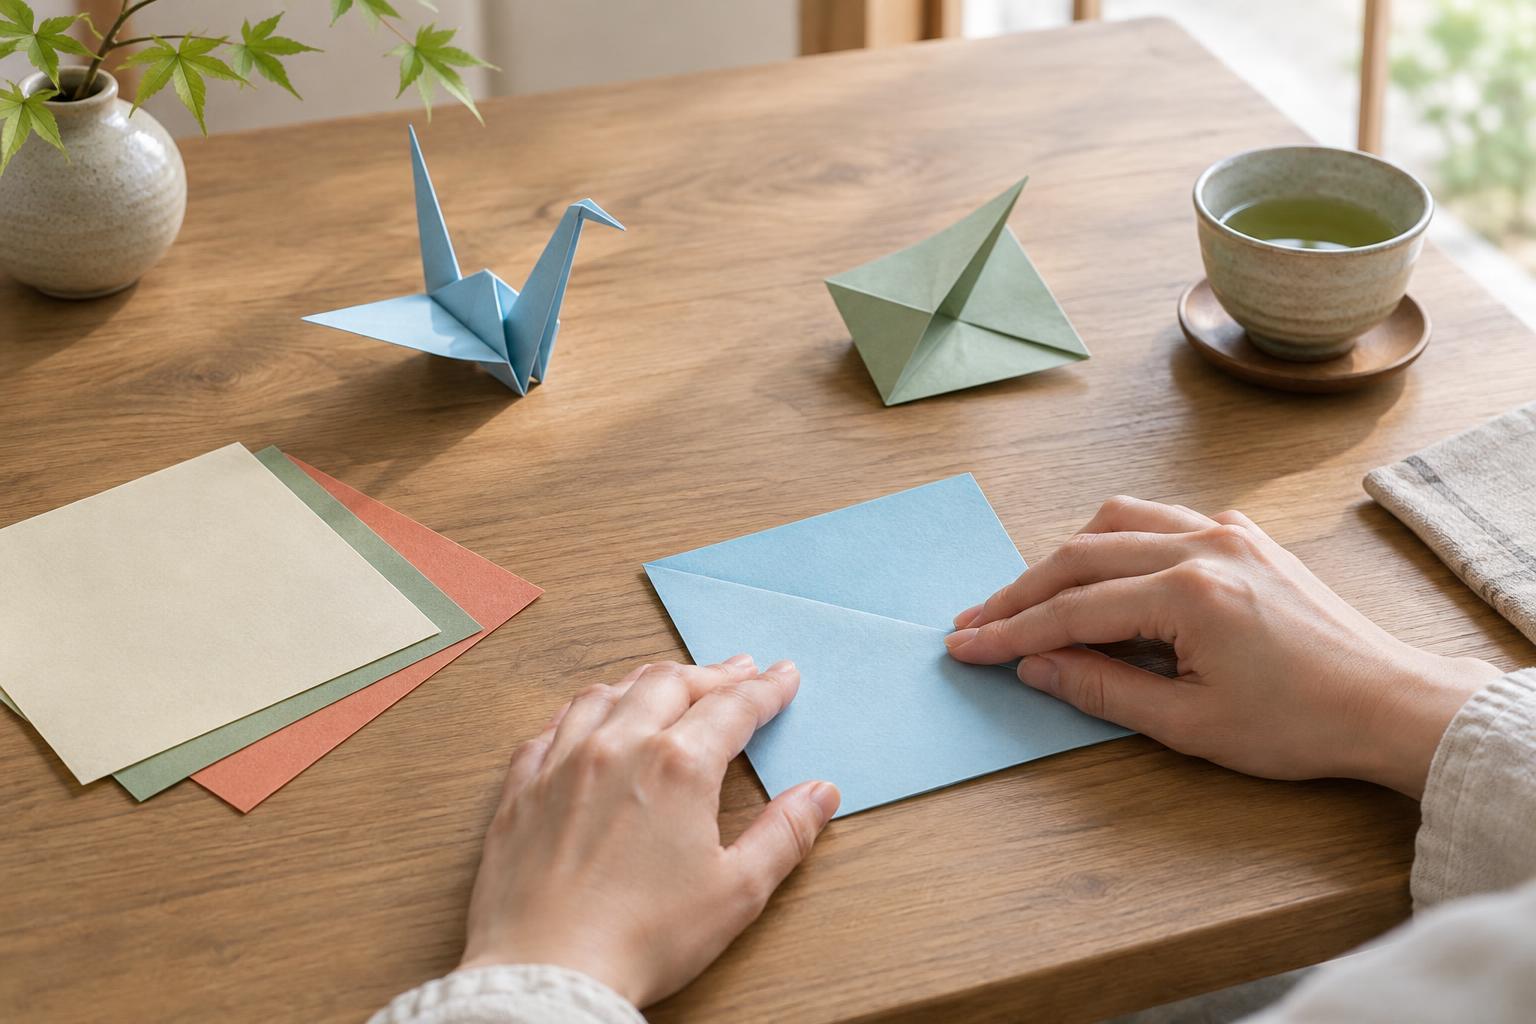
Origami is often associated with intricate cranes and delicate decorations, but a first attempt can be much simpler. Folding a single sheet into a recognizable shape is a satisfying way to explore a Japanese craft without needing special equipment. What matters most at the beginning is not speed or complexity. It is learning to line up edges, make intentional creases, and notice how one fold changes the shape available for the next.
A flat surface and clean, dry hands are enough to get started. Set aside a few sheets for practice rather than expecting every fold to become a finished object. Paper remembers a crease even after you open it, so experimenting with a practice sheet can help you understand instructions before making a model you want to keep.
How to choose your first paper
Start with square, lightweight paper that folds easily but holds a crease. Paper sold for origami is convenient because it comes pre-cut into squares, often with a colored side and a white side. That contrast makes it easier to follow directions that ask you to place the colored side up or down. A medium-sized square gives your fingers room to work; very small sheets can make accurate corners frustrating.
You can also cut a square from ordinary printer paper. It will usually feel stiffer than lightweight origami paper, especially after several layers are folded together, but it is useful for learning basic moves. Avoid thick card, textured paper, and slippery wrapping paper for your first few models. They can make creases harder to control or layers harder to keep aligned.
Keep a small stack of inexpensive practice sheets nearby. If you enjoy the process, try different colors and patterns later. A patterned sheet can make a finished model lively, while a plain sheet may make its shape easier to see. Neither is more correct; choose whichever helps you focus on folding.
Learn the two directions of a fold
The valley fold is the move you will use most often. Fold part of the paper toward yourself or toward the center so the crease forms a valley when the sheet is partly opened. To practice, bring the left edge of a square neatly to the right edge. Check that the corners meet, hold them in place, then press the fold from its center toward the ends. Open the sheet and look at the crease.
A mountain fold bends in the opposite direction, leaving a raised ridge when viewed from your side. You can practice it by turning your valley-folded sheet over and folding along the same crease. In many diagrams, a dashed line indicates a valley fold and a dash-dot line indicates a mountain fold, though it is wise to check the guide’s key. If an instruction feels confusing, pause and picture whether the paper should rise toward you or dip away.
Practice alignment with simple folds
Next, fold the square in half from top edge to bottom edge, then open it. Turn the sheet and fold it in half from left edge to right edge. These straight folds establish center lines. For diagonal folds, bring one corner to the opposite corner to form a triangle. Open the sheet and repeat with the other pair of corners. Each crease gives you a guide for later steps, so take time to match the edges before pressing down.
Try a kite fold once you have a center line. Place the square like a diamond, with one corner pointing up. Fold it in half vertically and open it. Bring each of the two lower sloping edges to the center crease, making a narrow point at the bottom. Work one side at a time and avoid pulling the paper so hard that its center shifts. This simple arrangement appears in many models and teaches you to fold an edge to a line rather than to another edge.
Another useful exercise is to mark the center by making two folds that cross, opening the paper after each one. Bring each of the four corners to that center point. The resulting smaller square is often called a blintz base. It is a good way to practice repeating the same move consistently on all sides.
Make your first models enjoyable
Choose a beginner model with relatively few steps, such as a simple boat, cup, or animal face. Read through its directions once before folding so you can spot any unfamiliar move. If your model looks uneven, open the most recent fold and check which corners or edges were meant to meet. Reversing one step is often easier than trying to correct the final shape.
Creases need to be firm, but they do not need to be forced. Press along a fold with a fingertip or the side of a fingernail, taking care not to tear the paper. As layers build up, fold slowly and keep existing edges lined up. With practice, you will begin to recognize familiar folds inside new models. That recognition, rather than a perfect first result, is what makes origami feel increasingly approachable.