What makes a braid kumihimo?
Kumihimo is a Japanese braiding practice in which strands of thread are crossed in a repeated sequence to form a cord or band. The word is often used for the finished braid as well as the process. Depending on the arrangement of strands and the way they are moved, the result may be round, flat or square, with color running in spirals, stripes or more intricate patterns.
At first glance, a finished cord can seem simple. Look closely, though, and its surface reveals the path of many individual threads. That visible structure is part of its appeal: the braid can be both useful and decorative without relying on a separate printed pattern. Kumihimo has been made for varied purposes in Japan, including dress and the finishing or fastening of objects. Its forms and uses have changed across settings and over time, so no single cord represents the whole craft.
How the strands become a cord
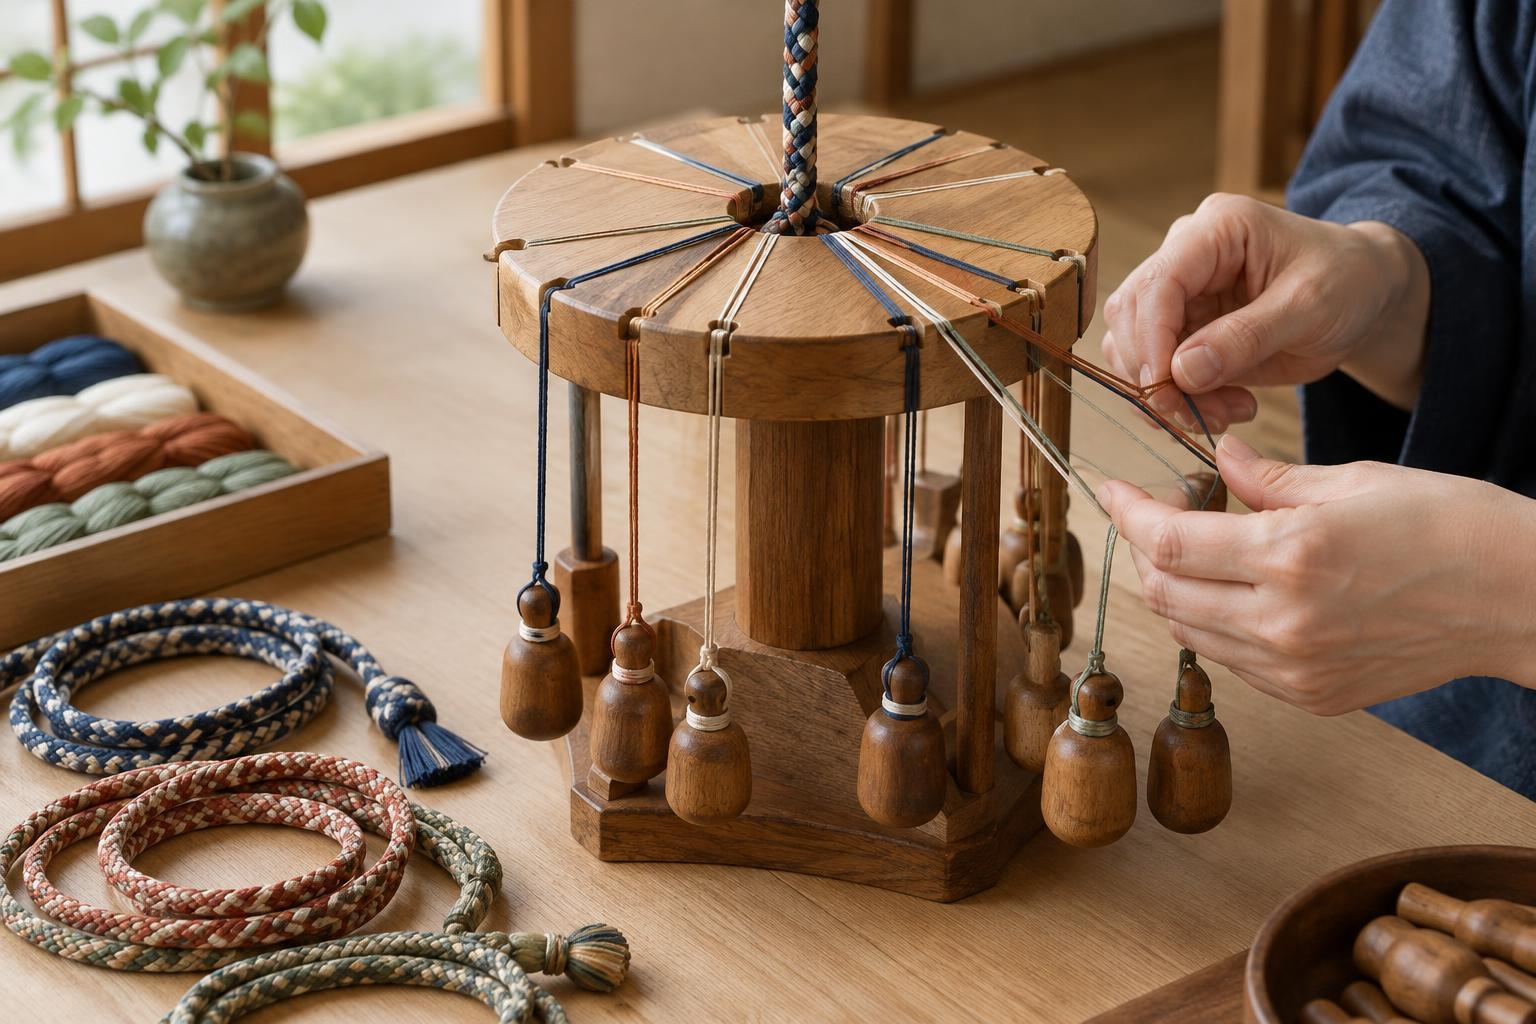
A braid begins with threads prepared in lengths suitable for the intended project. The maker groups or separates them according to a pattern, then moves strands across a central working area in a set order. Each move changes which threads lie beside or over others. Repeating the sequence builds the braid a little at a time, while steady tension helps keep its shape even.
Traditional braiding stands support this work in different ways. A marudai, often used for round braids, has a raised circular top with an opening at its center. Strands pass over the top and are commonly wound onto weighted bobbins called tama; the developing braid hangs through the opening. Other stands, such as the takadai, accommodate different arrangements, including flat braids. These tools give the maker room to manage many strands, but they also take practice to use well.
A handheld foam disk offers a more accessible introduction. Its numbered or marked slots hold the strands while the maker follows a particular sequence of movements. A disk is useful for learning rhythm and tension, though it does not reproduce every technique or working experience of a traditional stand.
Color, material and the character of a braid
Silk is closely associated with many examples of kumihimo, but braids can also be made with cotton, synthetic cord and other fibers. Material affects sheen, softness, durability and how clearly a pattern appears. A smooth thread may make a color change look crisp; a fuzzy yarn can soften the edges of the design. The thickness and number of strands also influence whether the finished braid feels delicate or substantial.
Color placement matters as much as color choice. Two makers can use the same shades but arrange their starting strands differently and produce noticeably different effects. For a first project, contrasting colors make it easier to follow where each strand travels. Later, a limited palette can draw attention to texture and the play of light across the braid rather than to bold pattern alone.
Where kumihimo is used
One familiar use is the obi-jime: a cord tied over the obi when wearing kimono. It helps hold the obi arrangement in place and adds a considered line of color and texture. Obi-jime vary widely in width, structure and formality; choosing one for kimono involves more than matching its color to the fabric. Looking at examples in context is a good way to appreciate both their beauty and their function.
Braided cords also appear as ties, handles, hanging cords and decorative details on small objects. For someone encountering kumihimo outside Japanese dress, a bookmark, bag pull or cord for wrapping a gift can make its practical qualities immediately clear. A useful braid should suit its job: a soft cord may feel pleasant in the hand, while a firmer one may hold a knot or keep its shape better.
A thoughtful way to try it
For a manageable first attempt, choose a beginner pattern made for an eight-slot foam disk and use the thread lengths and movements specified in its instructions. Cut equal lengths, secure one end together, and keep each strand in its assigned slot when you pause. Work slowly enough to check the sequence after every few moves. If the braid narrows or bulges, adjust how firmly you pull rather than trying to force the finished section into shape.
Finish the ends securely before putting the cord to use, and save a short practice braid as a reference for your next attempt. If a project takes inspiration from an obi-jime or another culturally specific item, learn what that item does before treating it as a generic decoration. Starting with attention to technique and context makes the finished cord more meaningful, whether you eventually explore a braiding stand or simply enjoy what a small disk can teach you.