A pattern built on a sphere
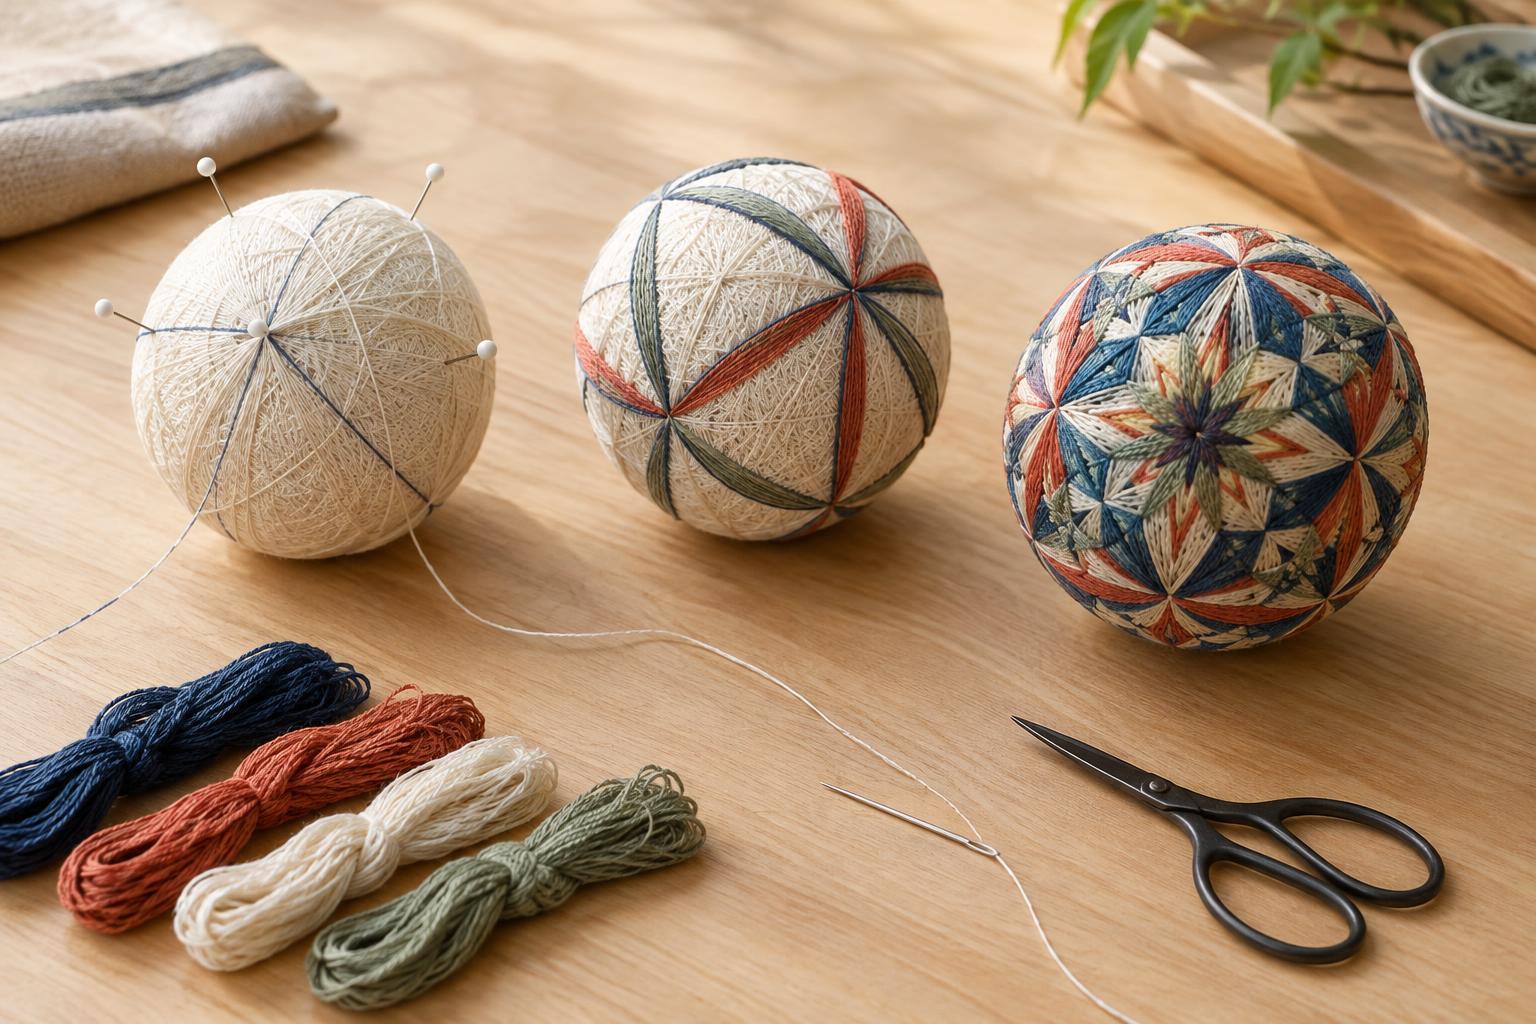
Temari are Japanese decorative balls whose embroidered designs follow the curves of a wrapped sphere. At first glance, the pattern can look impossibly precise. The method becomes easier to understand when you see it as a sequence of layers: make a firm ball, cover it with a smooth thread ground, mark a set of divisions, then stitch across those guides.
There is room for variation in materials, motifs and technique. Some makers create densely detailed ornaments; others use a few colors and a simple repeated shape. For a first attempt, the goal need not be a perfectly round or symmetrical ball. Learning how the layers work together is more useful than trying to reproduce an elaborate finished example.
Gather materials for the core and surface
Start with material you can compress into a small ball, such as fabric scraps or soft stuffing. Yarn holds that filling together and helps establish the shape. A spool of ordinary sewing thread can then provide a finer, more even surface for the decorative stitching. Wrapping in separate layers makes it easier to correct lumps before they become part of the finished ball.
For the design, gather colored embroidery thread, a needle, scissors, pins and a flexible measuring tape. Pins temporarily identify points on the ball; the tape helps place them. A contrasting thread is useful for guide lines because you can see where the stitched pattern should travel. Choose a needle that passes comfortably through the outer thread layers without requiring you to force it into the core.
It is tempting to begin with many colors, but two or three are enough to show how threads cross and overlap. Before wrapping, consider where the ball will be used. A temari intended for display can have delicate surface stitching; a ball likely to be handled often benefits from a firmer core and securely tucked thread ends.
Wrap a firm, even foundation
Compress the filling into a roughly spherical shape and wind yarn around it from changing directions. Turn the ball frequently rather than building up one band around its middle. Where you feel a hollow or flat spot, adjust the next wraps to fill it. The core should feel firm enough to hold its shape, but not so hard that inserting a needle becomes difficult.
Once the yarn layer looks balanced, cover it with sewing thread. Keep turning the ball as you wrap so the thread travels across different angles. This finer layer helps conceal gaps in the yarn and gives the embroidery a consistent background. The surface does not need to be flawless, but prominent ridges can make measured lines and stitches appear uneven.
To secure a thread end, pass it beneath several wraps with the needle and trim it close to the surface. Avoid relying on a visible knot where later stitching will sit. Pause and look at the ball from several directions before moving on: this is the easiest stage at which to add a little more wrapping.
Mark divisions before stitching
Temari patterns often depend on repeated sections. To establish a simple layout, choose two opposite points as poles and mark them with pins. Measure around the ball between those points, then use the tape to place additional pins at regular intervals around its widest part. These marks give you a guide for an equator and for lines running toward the poles.
Wrap a contrasting guide thread along the planned lines, anchoring it with small stitches where necessary. Check the layout by rotating the ball. If one section looks wider than its neighbors, move a pin before committing to the decorative stitches. Measurements help, but visual checks matter too: a handmade core may not be perfectly spherical.
A basic division is enough for a first design. Dividing the surface into more sections can create finer patterns, but it also makes small measuring differences more noticeable. Working with a simple grid leaves more attention for learning stitch placement and tension.
Stitch the pattern and finish the ball
Begin with a repeated motif that uses the guide lines, such as a series of overlapping shapes centered on a pole or equator. Bring the needle up near a guide, lay the colored thread across the surface, and take a small stitch to hold it at the next marked point. Repeat the movement in the same order around the ball. As layers accumulate, each pass helps define the geometric shape.
Aim for steady tension rather than pulling every stitch tight. Thread that is too loose may shift; thread pulled too firmly can sink into the foundation or distort the motif. Turn the ball as you work so you can compare corresponding sections. If a line drifts, it is usually easier to adjust a recent stitch than to compensate with later ones.
When a color is finished, carry its end beneath existing wraps or stitches and trim it neatly. Remove any temporary pins, then inspect the ball for loose ends and uneven areas. The finished temari can rest in a small dish or be placed where its pattern is easy to see. Its appeal lies not only in the final symmetry, but in the patient sequence of wrapping, measuring and stitching that makes that symmetry possible.