Many approaches, one useful starting point
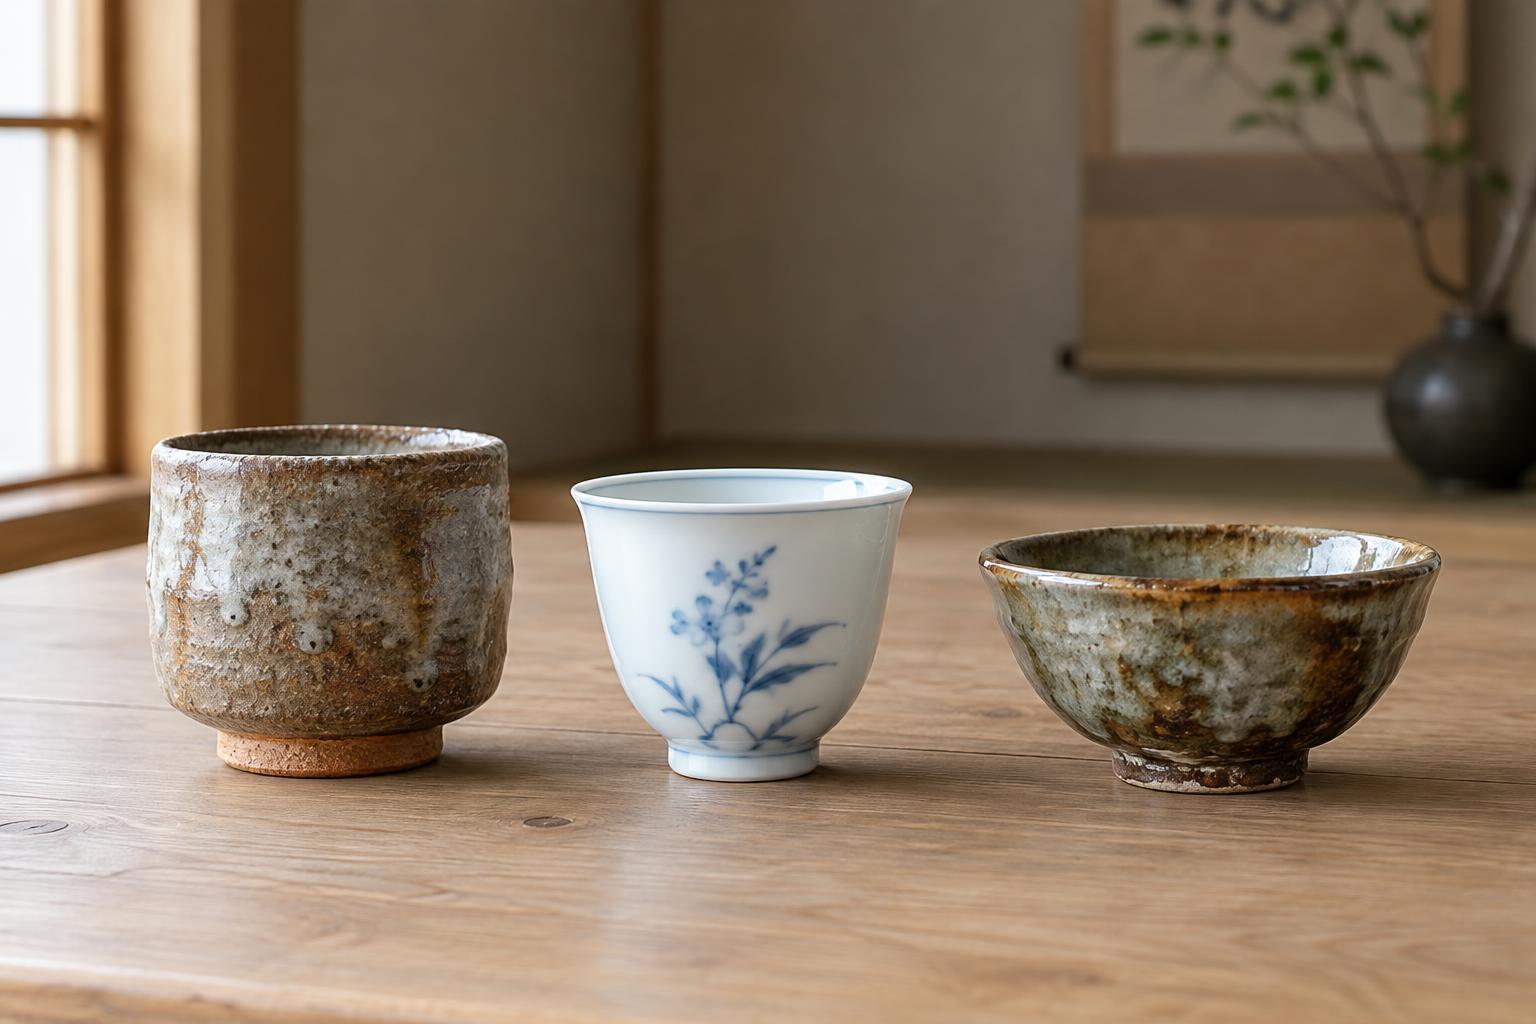
Japanese pottery is not one technique or one look. A sturdy everyday bowl, a delicate teacup and an expressive vessel may differ in clay, shaping method, glaze and firing. Some workshops value consistent forms; others welcome marks that reveal the maker’s hand. Regional traditions add further variety, but an individual potter may also adapt or combine methods rather than follow a fixed recipe.
Most pieces follow a recognizable path: clay is prepared, shaped, allowed to dry, sometimes decorated or glazed, and fired until it becomes ceramic. Each stage affects the next. A graceful shape still needs a stable base and walls that can dry without excessive stress; a promising glaze needs a firing suited to both glaze and clay. Following that sequence makes unfamiliar pottery easier to understand.
Preparing and shaping the clay by hand
Before shaping begins, a potter works the clay to make its moisture and texture more even and to remove troublesome air pockets. Clay that is too wet may slump; clay that is too dry may crack while being formed. The exact preparation depends on the clay and the intended piece, but the goal is workable material that will respond predictably to pressure.
Hand-building means shaping without relying on a spinning wheel. A potter might pinch a small bowl from a ball of clay, join rolled coils to raise the walls of a vessel, or cut and assemble slabs into a boxlike or gently curved form. Joins need care: surfaces are commonly roughened and dampened before being pressed together so they bond well. Hands, simple tools and supports can then refine the rim, base and surface.
Hand-building allows close control over irregular outlines and subtle changes in thickness. It does not mean the result is effortless or necessarily rustic. A neatly joined slab vessel can require as much planning as a symmetrical wheel-thrown bowl. Look closely at a finished piece and you may notice deliberate finger marks, a softly uneven lip or a crisp seam left as part of its character.
What happens on the potter’s wheel
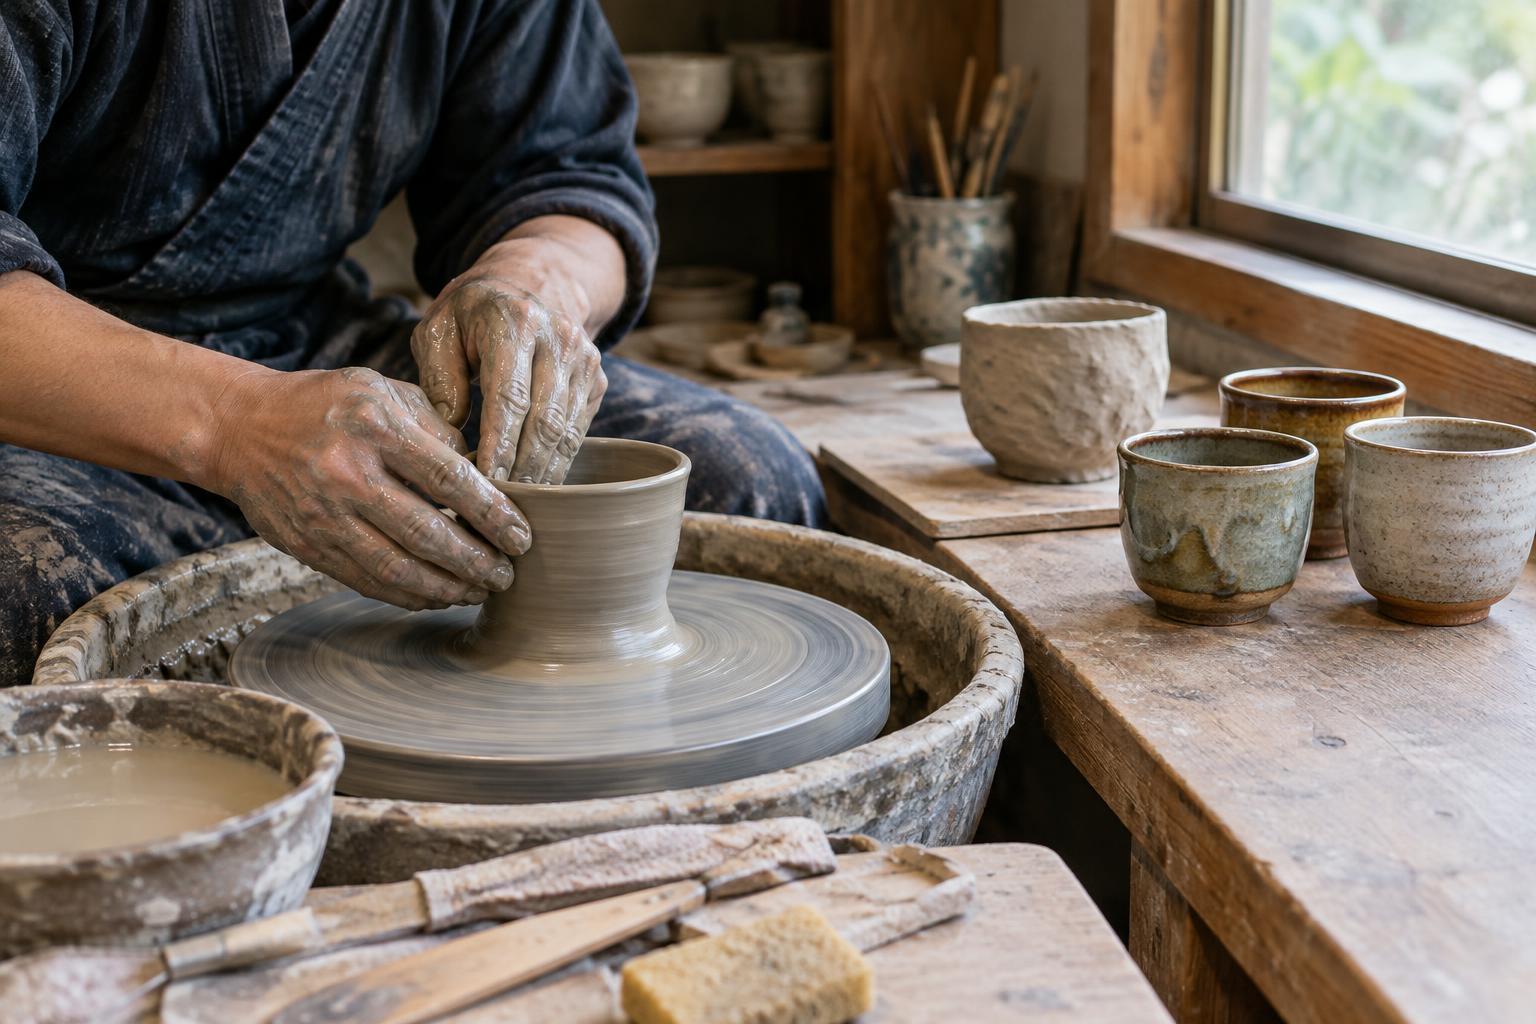
In wheel-throwing, a lump of clay is centered on a rotating wheel. The potter presses and lifts the clay while it spins, opening the center and drawing the walls upward. Small adjustments in hand position and pressure change the height, width and curve. If the clay is poorly centered or pulled too quickly, the walls can wobble or collapse.
A freshly thrown piece is usually too soft to finish immediately. Once it has firmed up enough to hold its shape, the potter may return it to the wheel to trim excess clay from the base and refine its profile. This stage can create a foot ring that helps the vessel sit securely and gives the maker a chance to balance its weight. Handles or other additions, if used, must be attached while the clay is at a suitable stage of dampness.
Drying, glazing and firing
Whether hand-built or thrown, a piece must dry before its first firing. Clay shrinks as it loses water, so uneven thickness or a draft that dries one area much faster than another can encourage cracks or warping. Potters often let pieces dry gradually and check that thicker parts, such as a base or an attached handle, have had enough time to catch up.
A first firing, often called a bisque firing, turns dry clay into a porous ceramic that is easier to handle and glaze. Glaze is a coating that can change color, texture and how readily a surface absorbs liquid. It may be poured, dipped or brushed on, depending on the effect sought. Some Japanese pottery is left unglazed in whole or in part; the exposed clay can be an intentional feature, not an unfinished step.
In a later firing, the glaze matures and bonds to the piece. Kiln type, atmosphere, temperature and the placement of a vessel within the kiln can influence the result. Wood-fired, gas-fired and electric kilns offer different possibilities, and potters work with those conditions in different ways. Firing is a planned process, but outcomes are not always perfectly predictable: colors may vary, a glaze may flow, or a piece may warp.
Reading the finished piece
When you pick up a bowl or cup, start with ordinary questions. Does its weight feel comfortable? Is the rim pleasant to drink from? Does the foot let it rest steadily? Then look at the relationship between shape and surface: a glaze might pool in a shallow groove, while an unglazed area may show the texture of the clay. These details offer clues about how the piece was made and how it was intended to be used.
Not every uneven edge is a prized accident, and not every smooth surface came from a machine. The most useful habit is to observe before assigning a meaning. If a maker or workshop provides information about a piece, that context can deepen your appreciation. Otherwise, the basic steps—forming, drying, glazing and firing—provide a thoughtful way to notice the decisions held in an everyday object.